Installment #1 in a new series: Homeowners guide to DIY restoration projects
Part of my problem in consistent blogging the past year has been time. So much to do here trying to restore and advance At The Rainbow. Another part of my problem has been what to write about. I am going to see if my latest idea will help take care of part of that second problem.
I am the general contractor, jack of all trades, master of none, in this restoration process. But that means there are a lot of different projects, skills and activities going on. I am going to start trying to blog on some sort of regular basis on what is going on here, construction-wise, from my perspective of the amateur handyman, what I am thinking about the project, why I do or don’t do certain things.
It will be an exercise in our website’s slogan “let’s pool our ignorance”. I will show you how I use my ignorance to complete projects, and perhaps in the comments some of you will tell me what you know that I don’t, or what you learned from how I did something, or have your own questions about “why this and not that”. Might even have some pictures or videos now and again with this.
My first topic is papercrete
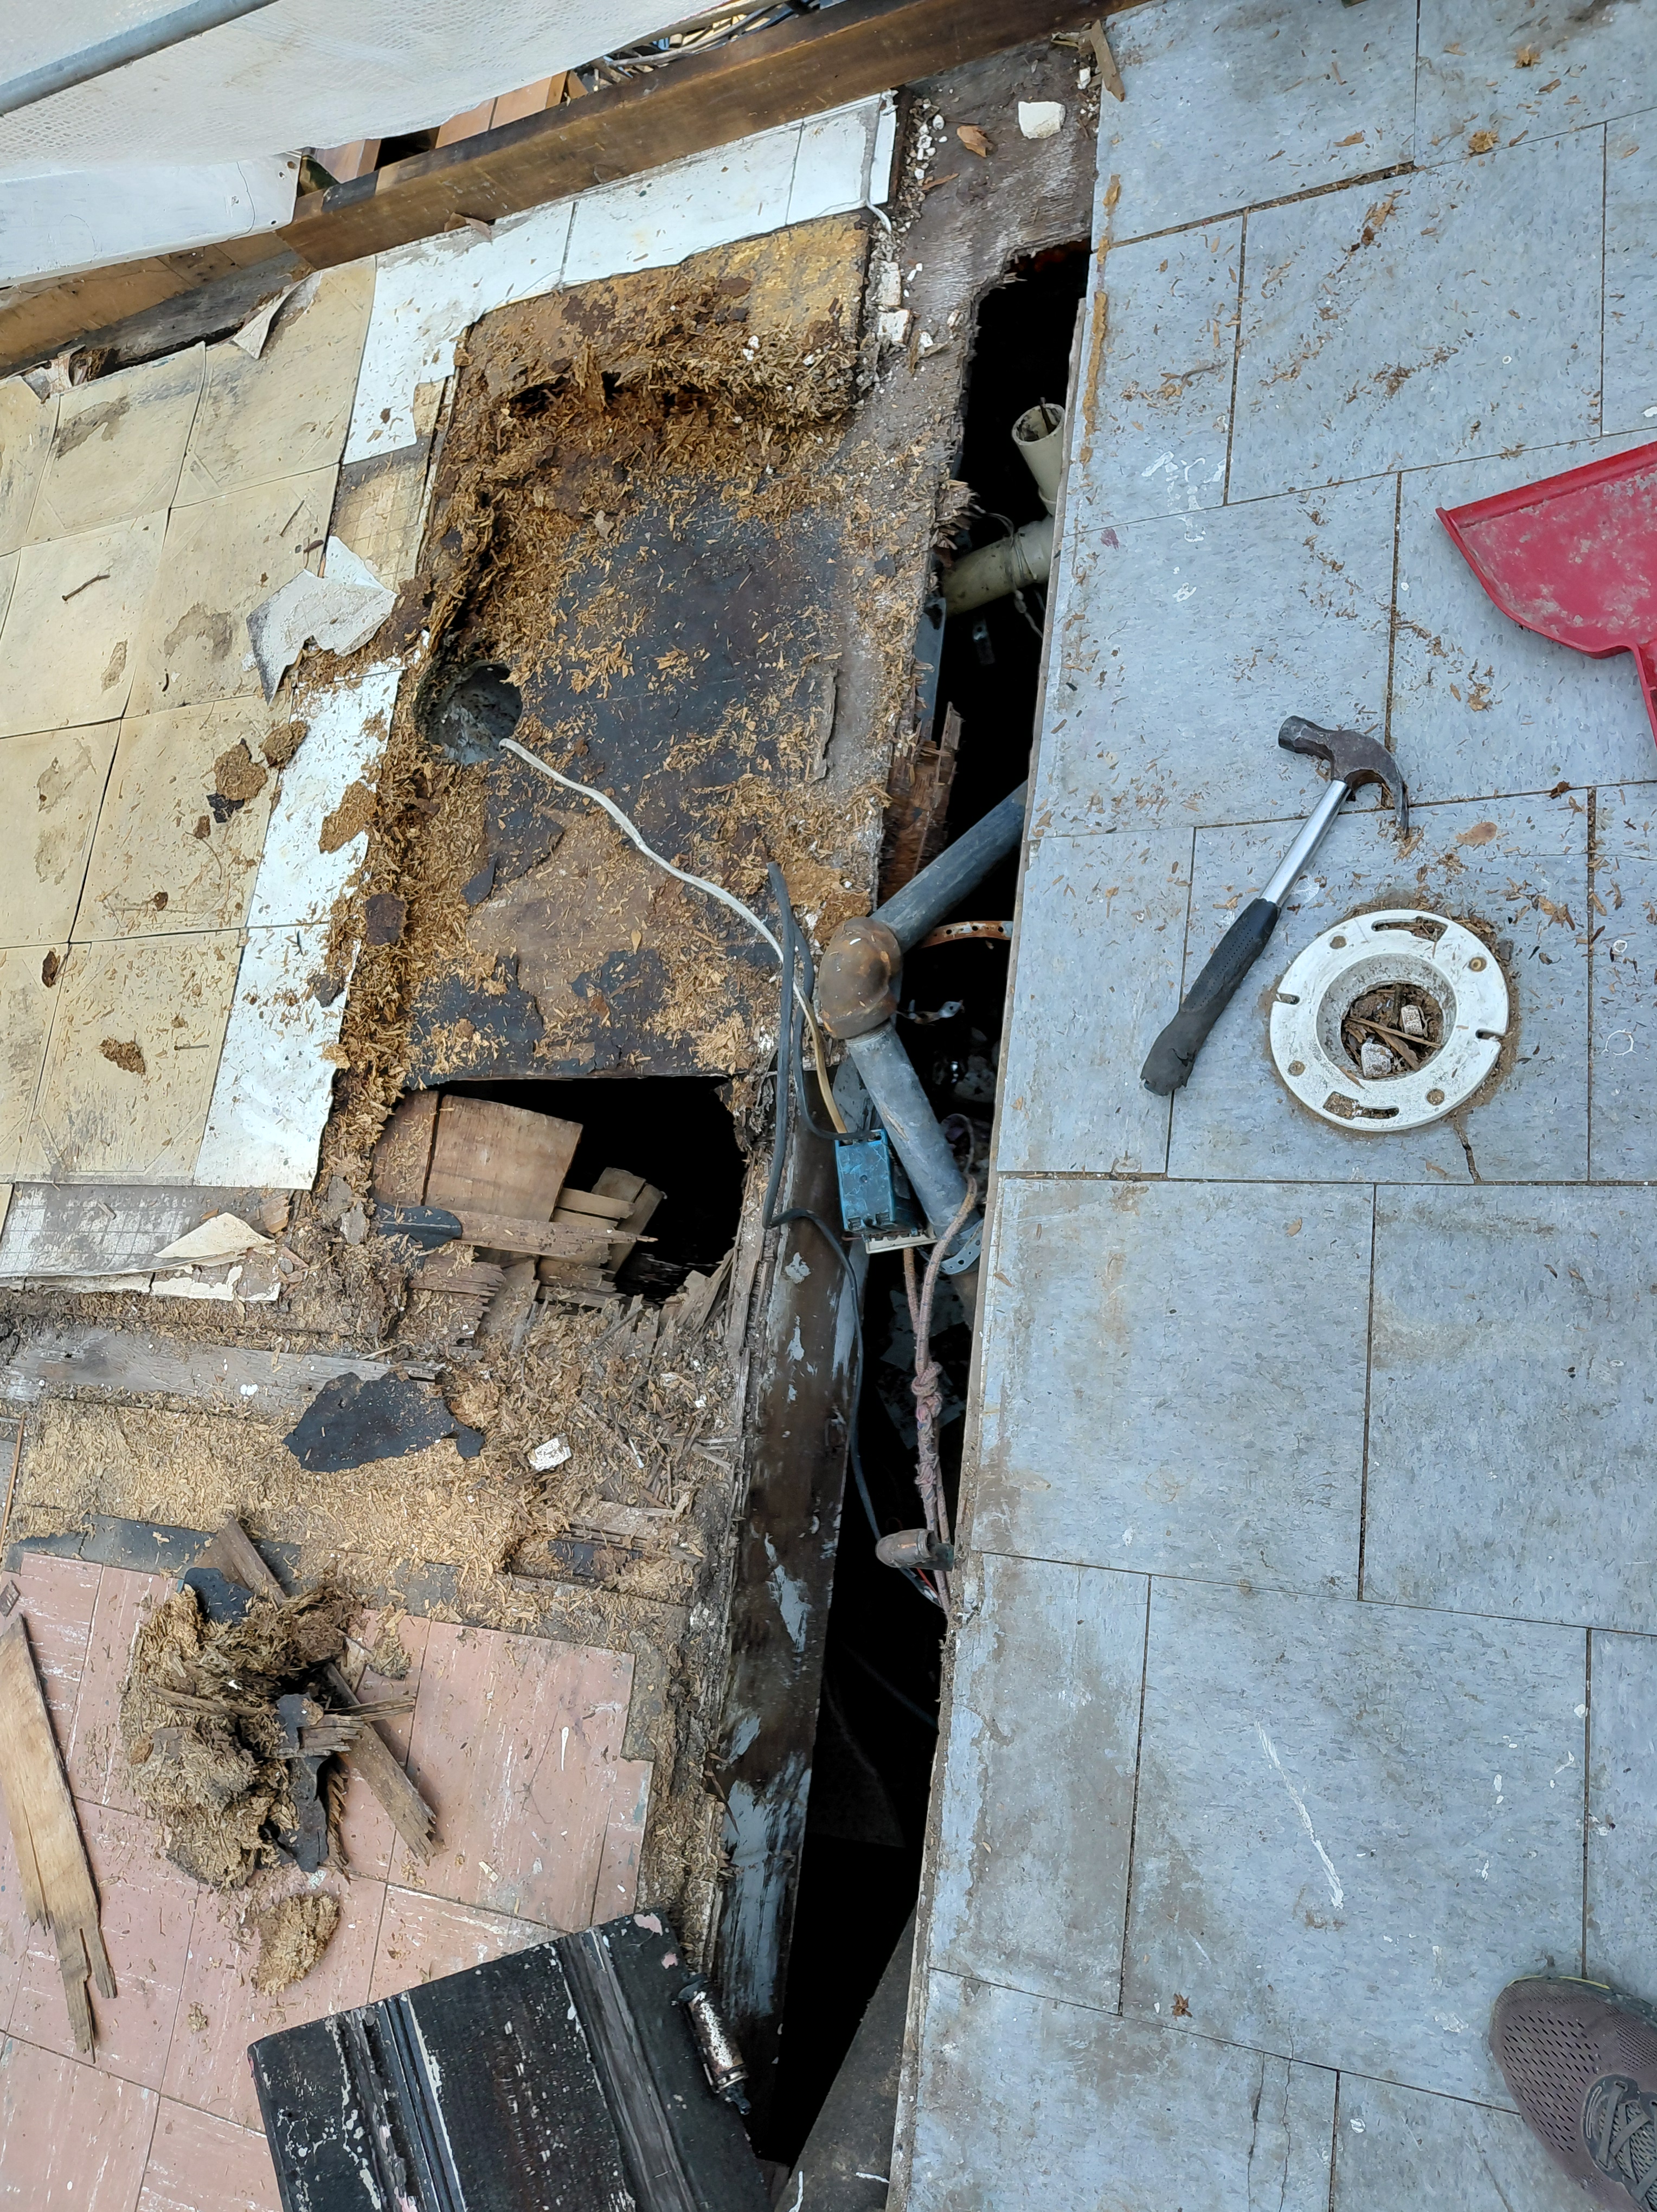
The fire has left a lot of materials here At The Rainbow, that aren’t suitable for reconstruction, but haven’t been totally lost to function. At the moment I am thinking of wood pulp. But what uses could be made of wood pulp. My initial idea was paper mache. further research came up with papercrete, a form of concrete where paper, or wood pulp, is used instead of the stones and gravel found in regular concrete.
So I have photos from my first attempt, a couple days ago, and video from the second attempt last night, to use up the fire-scarred but not totally destroyed wood pulp from our house structure.
These pictures show the process in a nutshell. For wood pulp I used subflooring from the old Master Suite because it was already in a pulverized for so I didn’t have to figure out how to pulverize it.


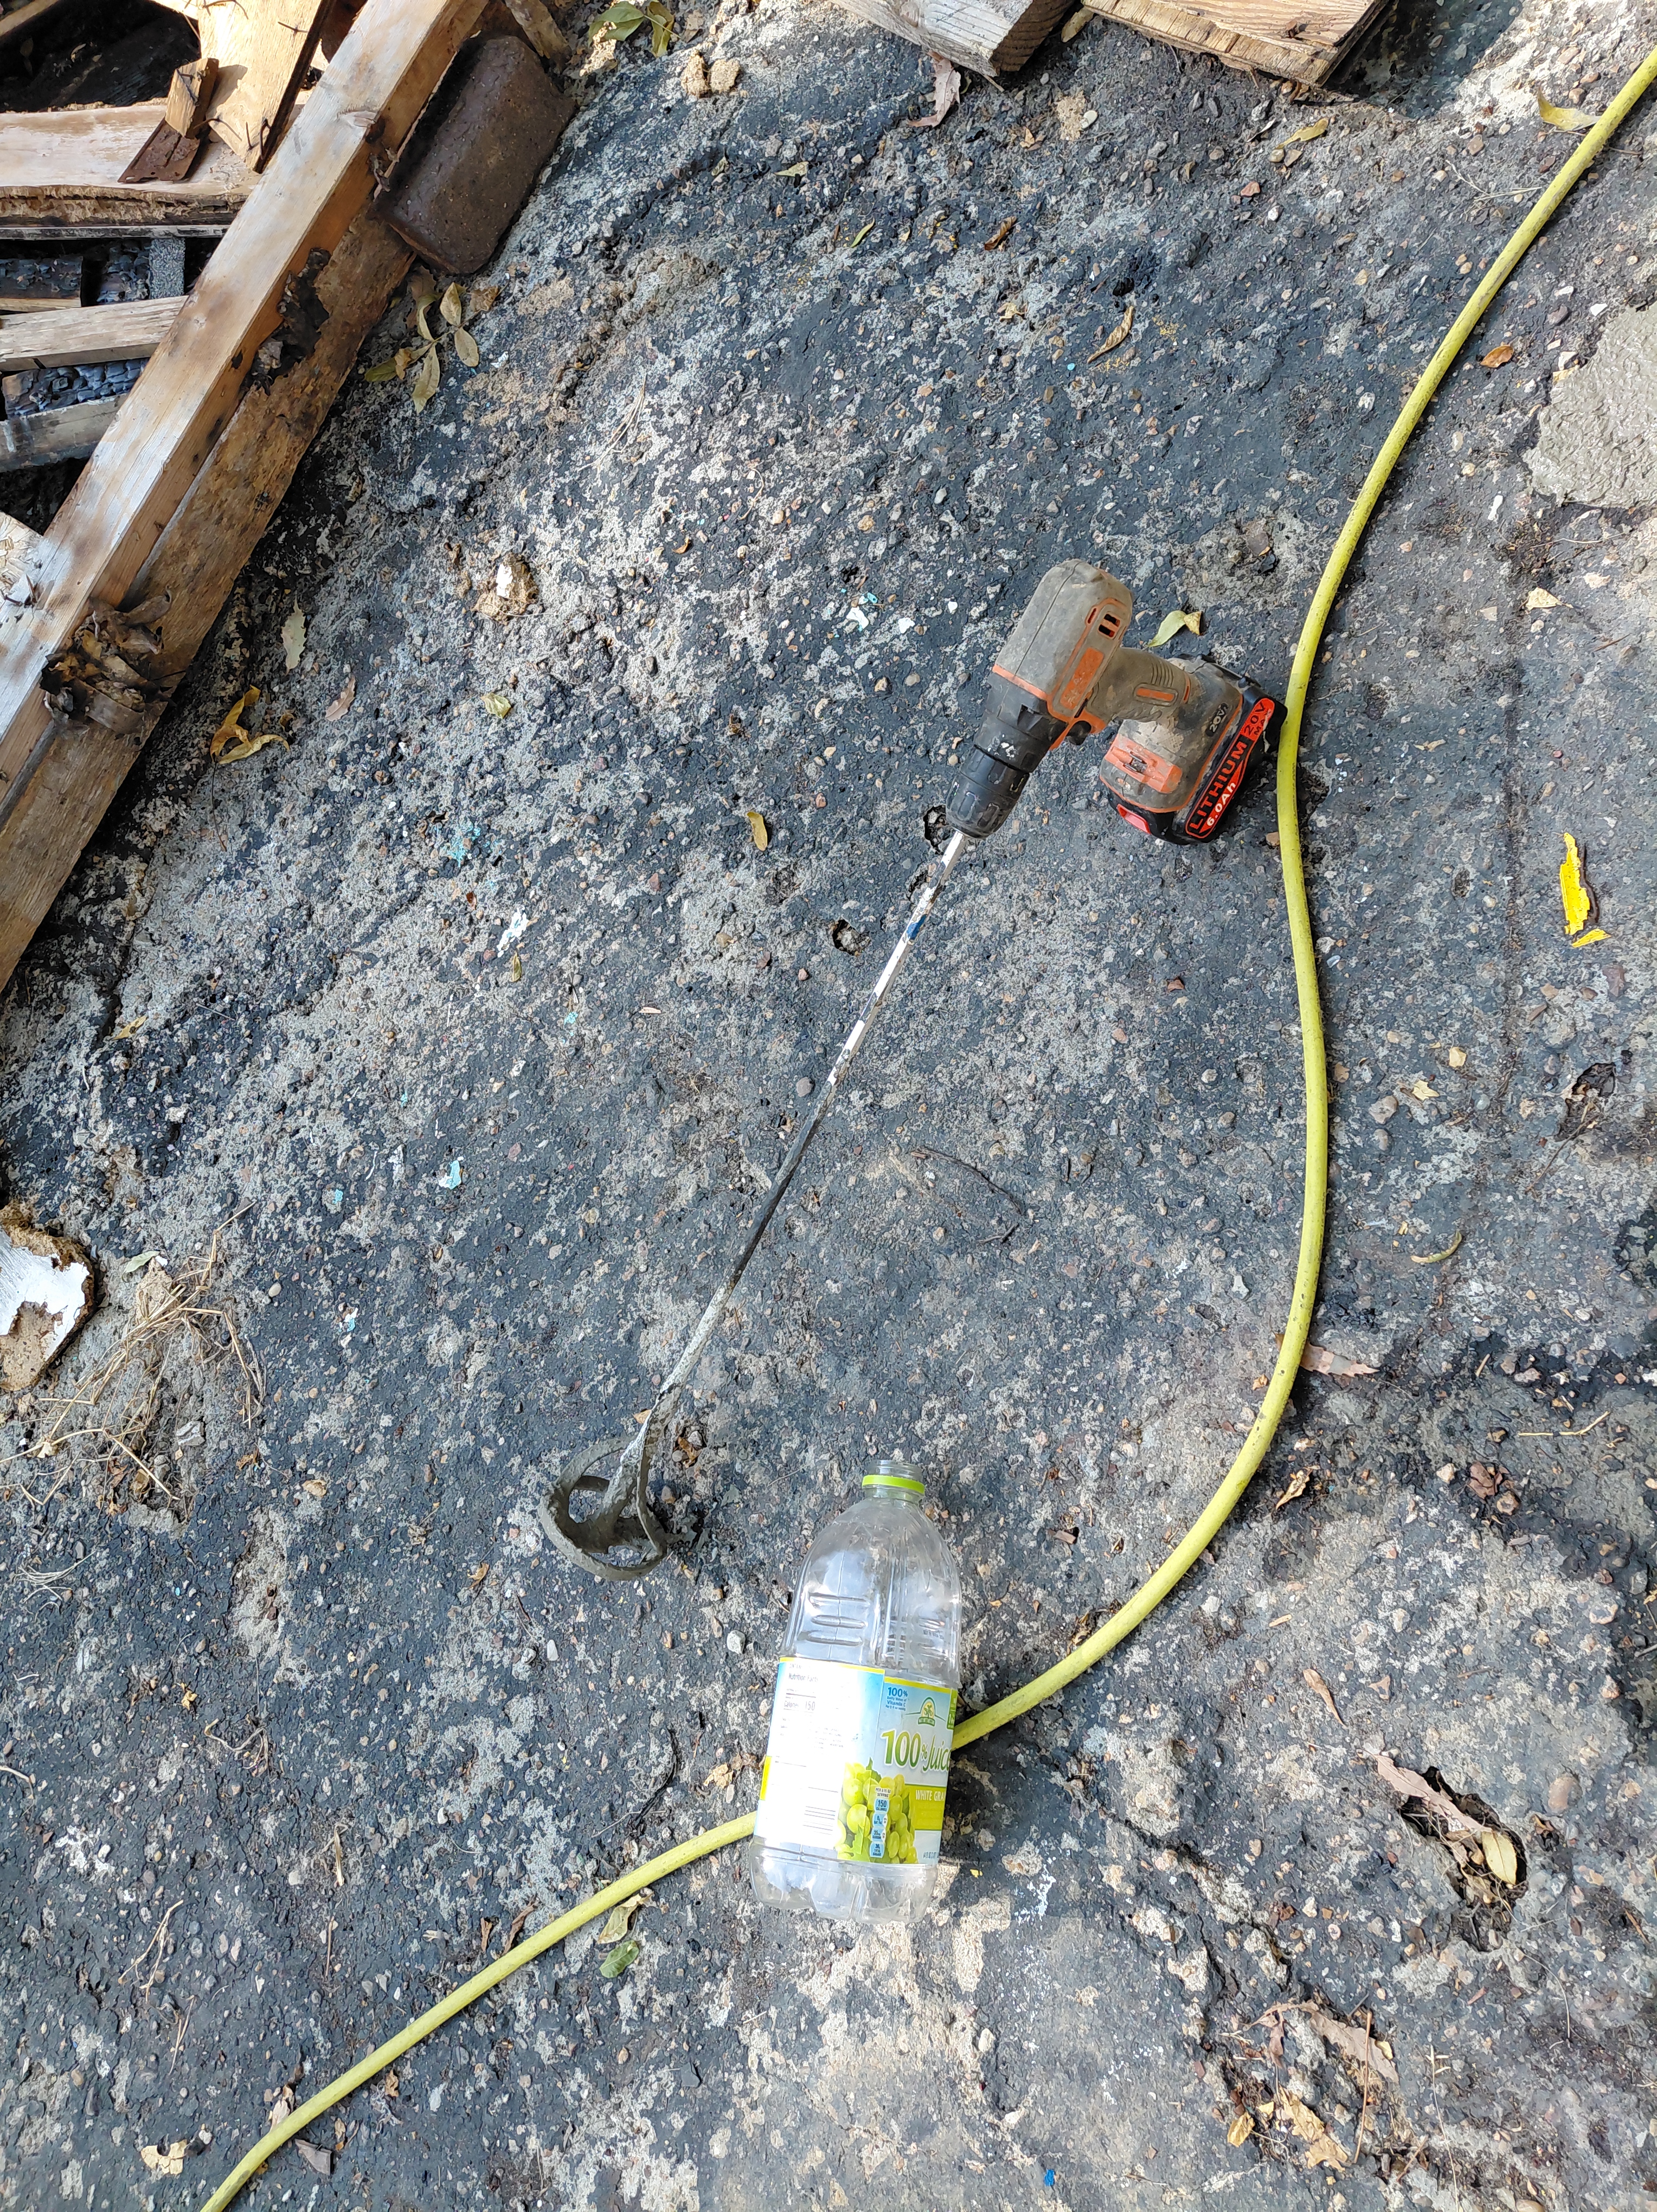
I used waxed paper cups as my unit of measurement. Three filled with wood pulp, two with cement mix and one with sand. These were blended together while dry, and then once of a uniform consistency, water was added to them to create the slurry, and then it was poured and molded into patches for holes in the driveway.

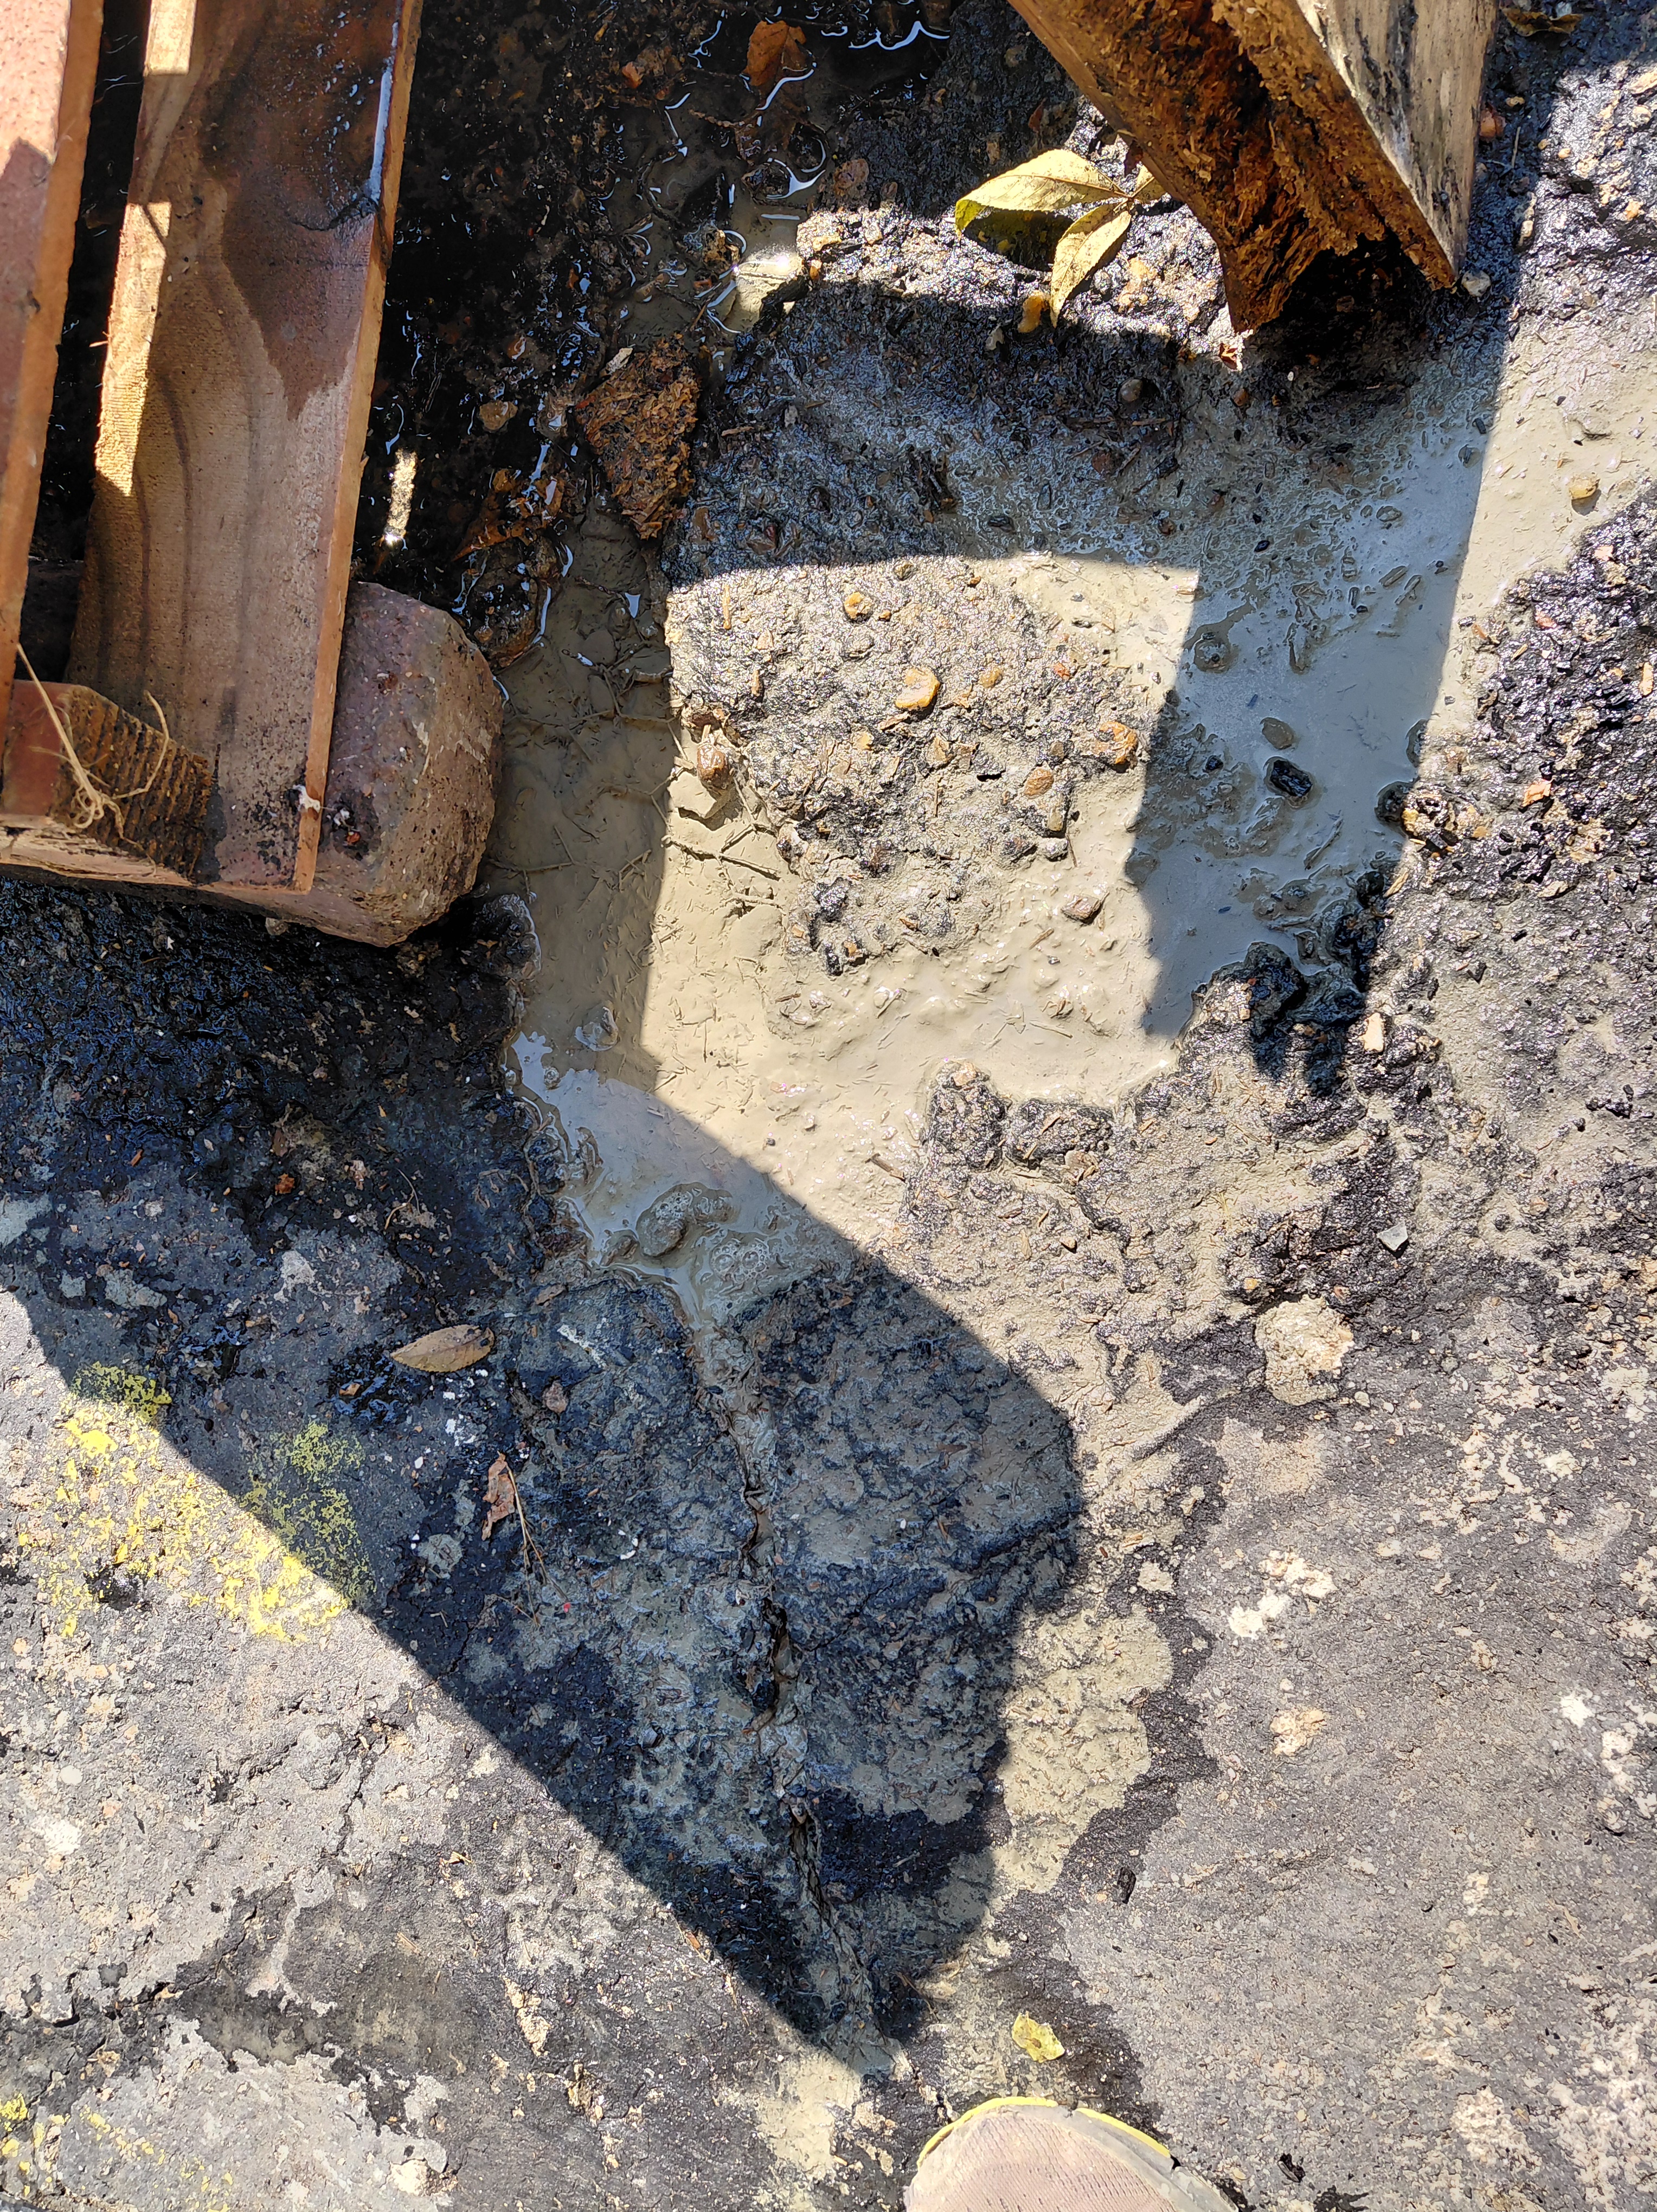
A power driver with a stirring attachment helped this process, and you can see several pictures showing examples of cracks in the pavement needing patching.

There are also some pictures of the new patches I put down.
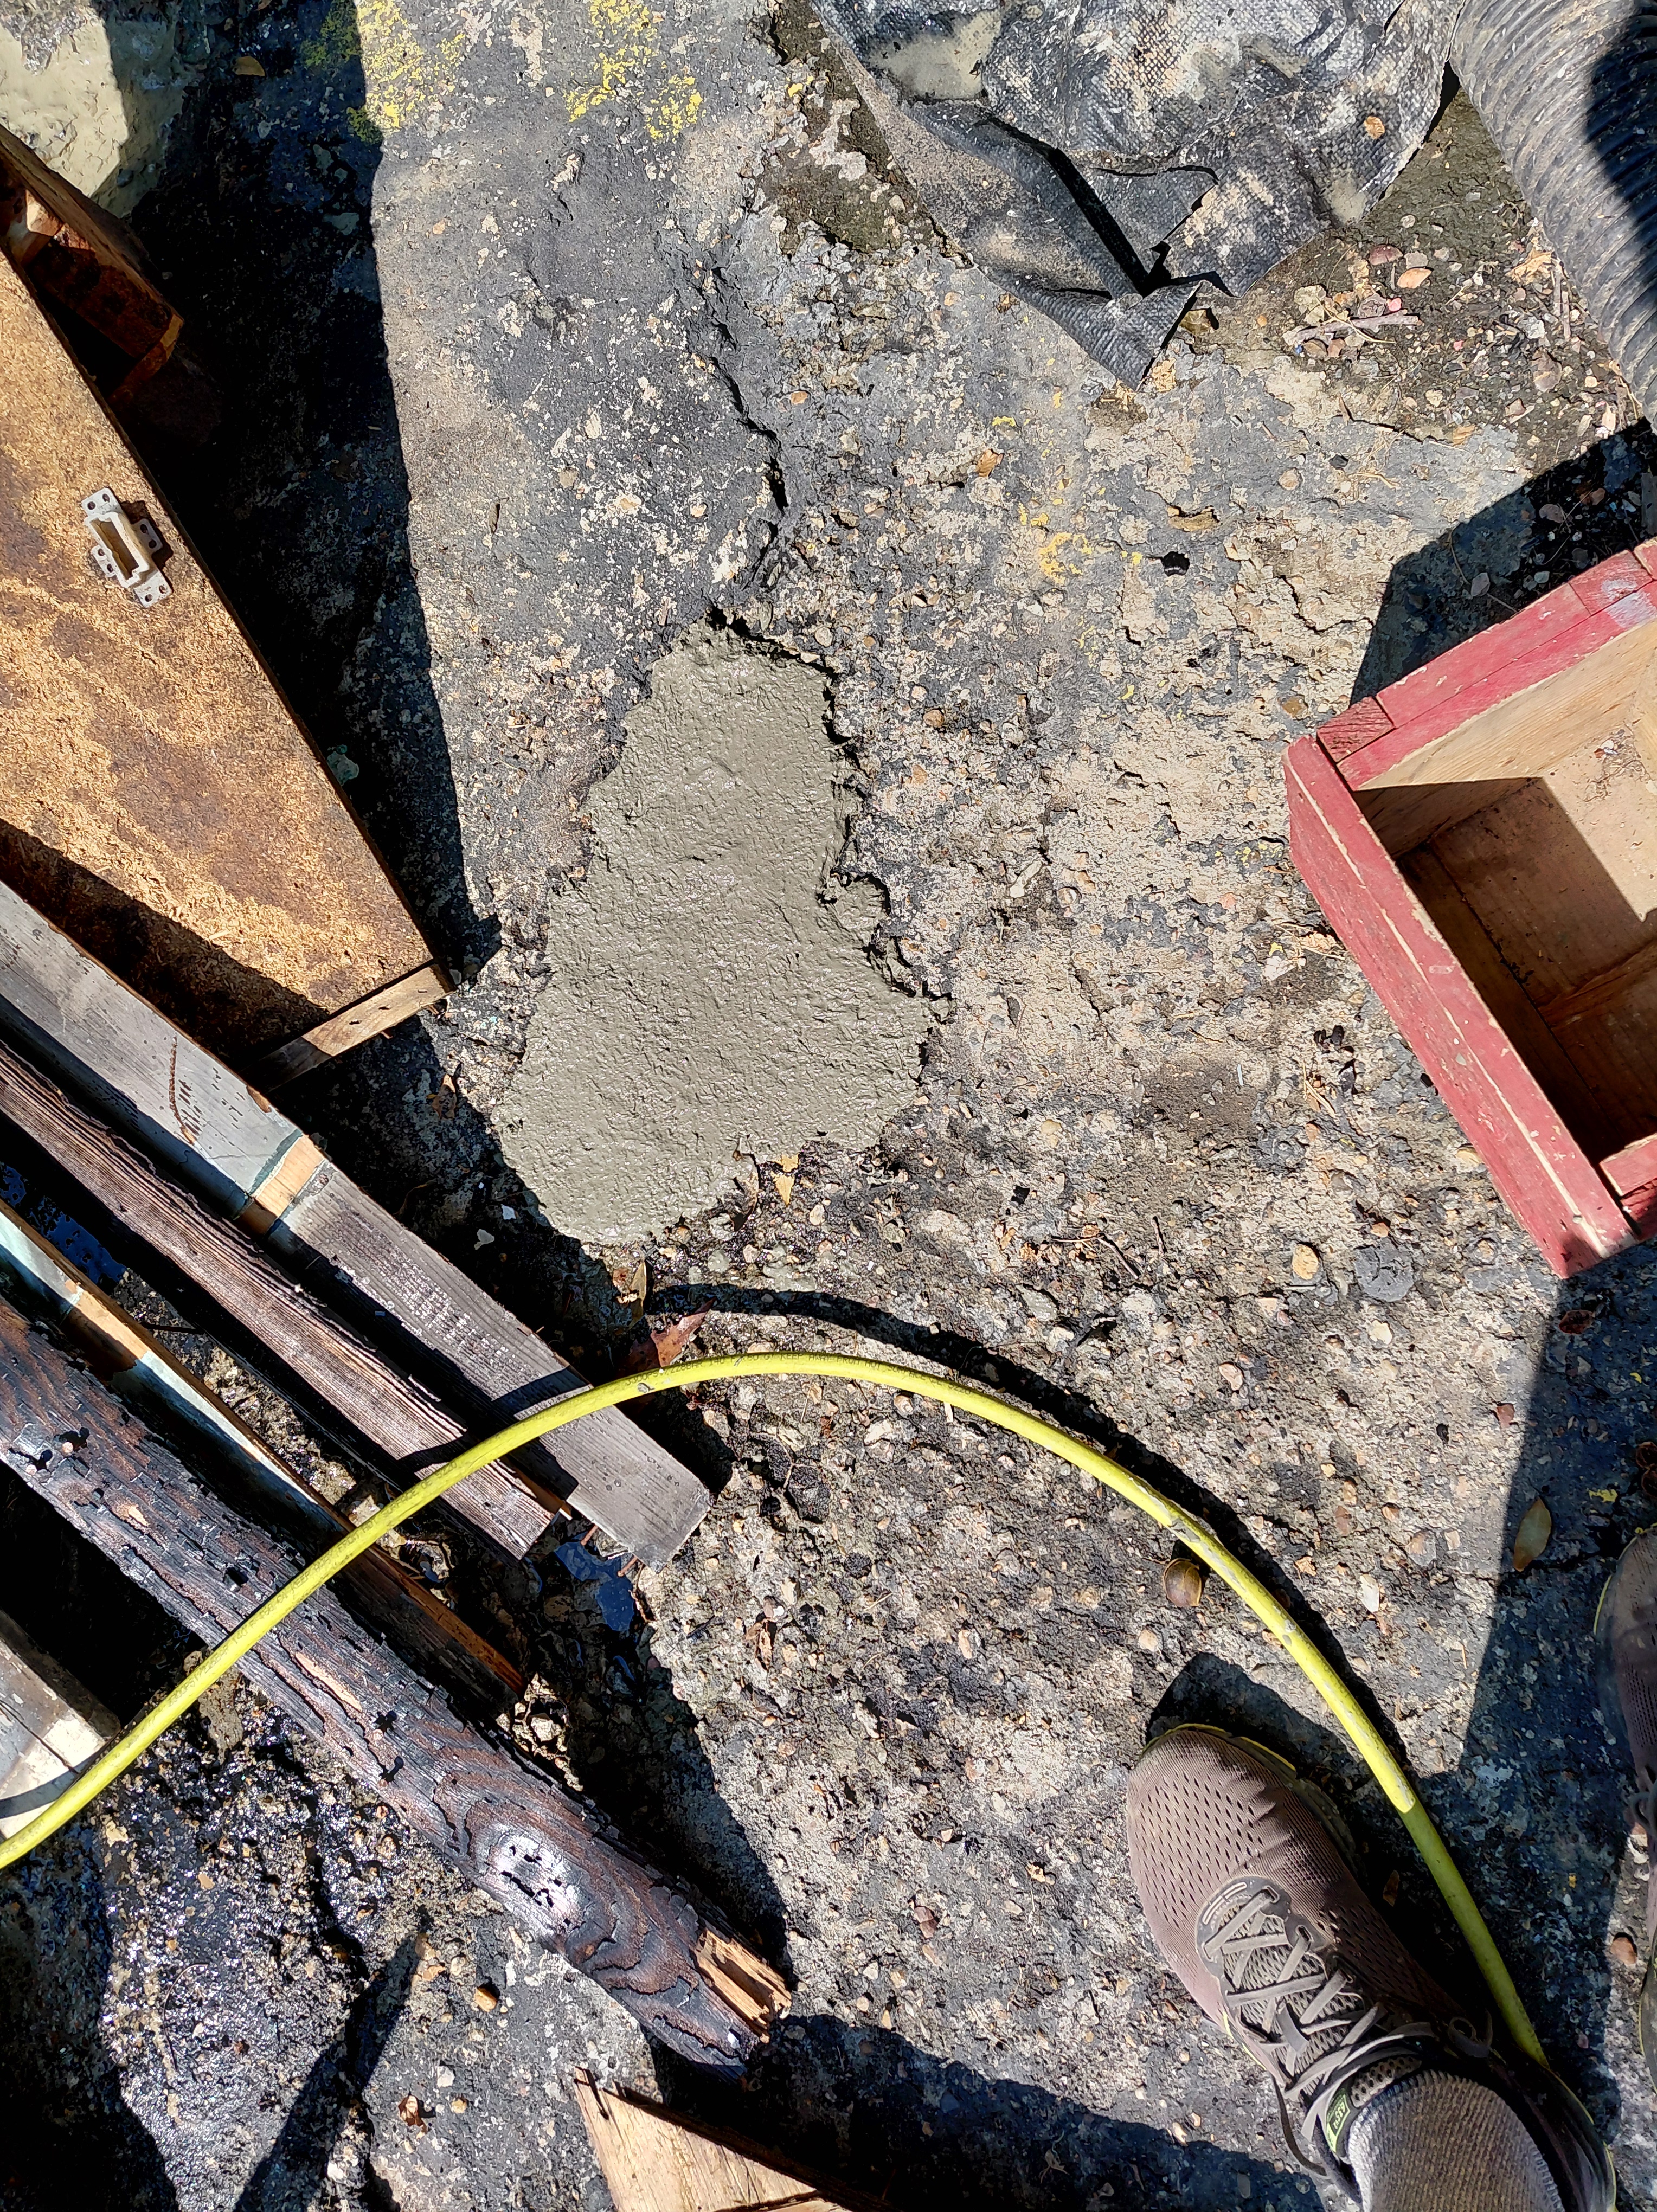


new patch
And finally, a start to finish video from my second batch attempt.It is just under 20 minutes long, but has a lot of interesting information, along with a record of any mistakes I made along the way. Practice makes perfect, they say, but as my grandmother noted, people forget tht practice also makes messes.
